How To: Wiring a 5 Pin Rocker Switch
How To Wire a 5 Pin Rocker Switch
Wiring or installing any automotive application can be the difference between an enjoyable outdoors experience or a forgettable one. Ensuring that your vehicle is wired up correctly can save you from finding yourself stranded in the middle of nowhere, or from rocking up to your campsite with warm beer in the fridge.
Wiring rocker switches correctly will help you stay on top of your 12v system. In this post we will discuss how to wire your 5 pin rocker switch correctly so that you can have confidence in your 12v setup.

Equipment required:
- Crimp Tool
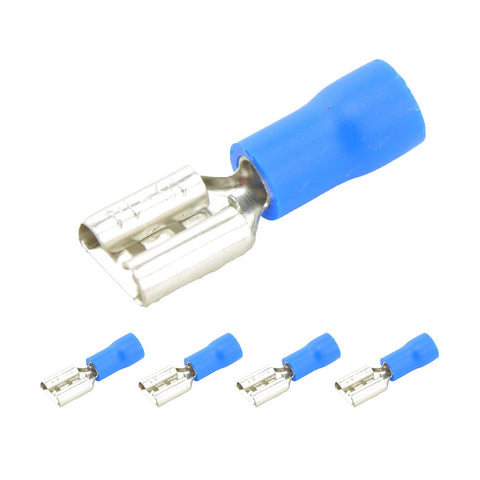
- 5 x Female connections - standard automotive 6.3mm spade terminals
- Electrical wire
Step 1:
Identify where you will be placing your accessory (low voltage interior led light strip, fridge, fan etc.), and where your switch will be located.
Step 2:
Run the positive wire from your accessory to the location of your switch. (If this requires you to run wires outside the vehicle, use suitable conduit to protect the exposed wires). Generally with a rocker switch, you'll only need to switch the positive wire, so the negative can be wired directly back to your negative (earth, ground, bus bar etc.).
This wire will be connected to Pin #3 on the switch, the switch output. Simply strip your wire, crimp a female spade terminal, and push onto the male terminal/pin on the switch.
Step 3:
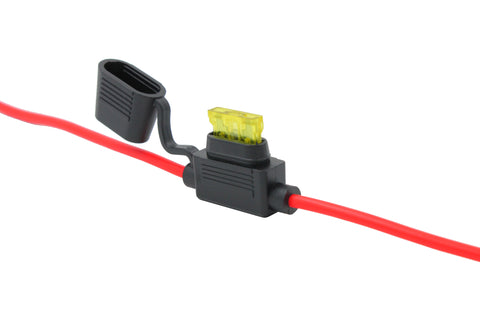
Run a positive wire from your power source (battery, fuse box) to the location of the switch. It is recommended that the power source is fused with a 20A inline fuse. This can either be done with an inline fuse (first picture below), connecting a fuse tap into your fuse box (second picture below), or by running a new circuit from an existing fuse box.
Connect to Pin #2 on the switch, as the main positive input. Simply strip your wire, crimp a female spade terminal, and push onto the male terminal/pin on the switch.

Step 4:
This step is optional, and only if you wish to utilize what we refer to as "Dash" illumination in the switch - or illumination of the lower LED.
Identify an existing power supply that is live when the dash lights/head lights/interior light (in campers) circuit is powered. Connecting to this will illuminate the lower LED in the switch, at the same time your dash lights are activate. If this is not being fitted in an OEM replacement application, or if you want lower LED illumination at all times, simply use the main power being supplied to Pin #2. Where ever you supply power from, when this is live, this is when the lower LED will illuminated.
Connect to Pin #6 on the switch, as the lower/"dash" LED positive input. Simply strip your wire, crimp a female spade terminal, and push onto the male terminal/pin on the switch.
Step 5:
Connecting the earth/negative pins on the switch is only for the negative side of the LEDs fitted in the switch, and does not need to be wired to your accessory (light bar, fridge etc.) - see Step 6.
The most simply way is pictured below, utilizing a loop to wire in both negative terminals - #6 and #7. The terminals can be wired separately, if preferred. Simply strip your wire, crimp a female spade terminal, and push onto the male terminal/pin on the switch.
The negative terminals on the switch will need to be connected to your ground/earth/negative of your vehicle. You can unitize an existing ground, if this is nearby or easy to access.

Step 6:
Connect the negative wire from accessory (led light, fridge) to the negative/ground (battery, bus bar, fuse block etc.). The negative side of your accessory does not need to be connected to the switch, as the switch will only be switching the positive side.
Note: Pre-made wires are available for rocker switches if you do not have access to the required equipment listed.
Step 7:
Testing. Always make sure to double check your work, before testing the new switch and accessory install. Up for On, Down for Off - and you are good to go!
Not working as expected? You can always back track through the steps above to make sure everything is connected correctly. If you still aren't sure, you can Contact Us and we'll help you get it sorted!
That's it! You are done and ready to go.
Want to learn more?
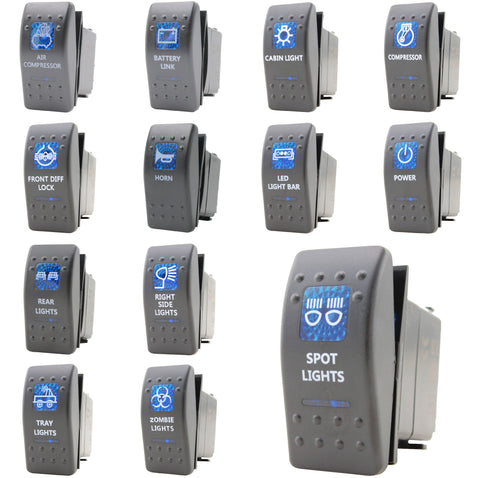
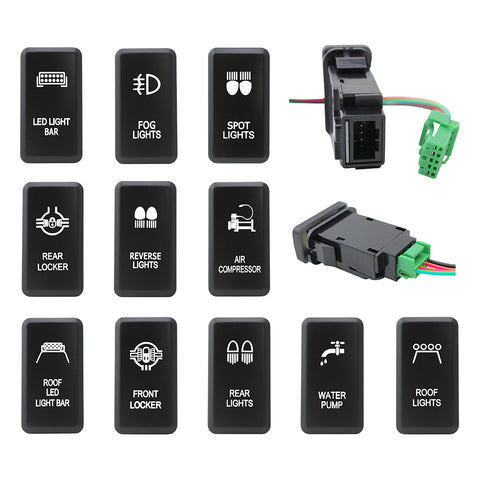
There are several different types of rocker switches available on the market and if you would like further information on this, please read our What is a rocker switch? blog. In this post, we discuss "how to wire a 5 pin rocker switch to a led light". This is seen in applications including camping lights for caravans and 4wd’s, deck lights in boats and many other applications.